
Create Your Own Font with FontSelf: A Step-by-Step Guide
Creating custom fonts used to be the work of design experts, but thanks to tools like FontSelf, it’s now accessible to anyone! FontSelf is a powerful plugin for Adobe Illustrator and Photoshop that lets you create and customize your own fonts. Whether you want a unique font for a project or plan to build a library of custom fonts, this guide will walk you through everything you need to know to get started.
Why Create a Custom Font?
Creating a custom font can give your designs a unique, professional touch that sets them apart. Designers use custom fonts for everything from branding to web design, giving their projects a distinct personality. Plus, it’s a rewarding way to showcase your creativity!
Getting Started with FontSelf
Before you begin, ensure you have:
- Adobe Illustrator or Photoshop: FontSelf works as a plugin in these programs, so you’ll need one of them to install the plugin.
- FontSelf Maker Plugin: FontSelf is available on the official website and the Adobe Add-ons store. Once downloaded, follow the installation instructions, which vary slightly for Illustrator and Photoshop.
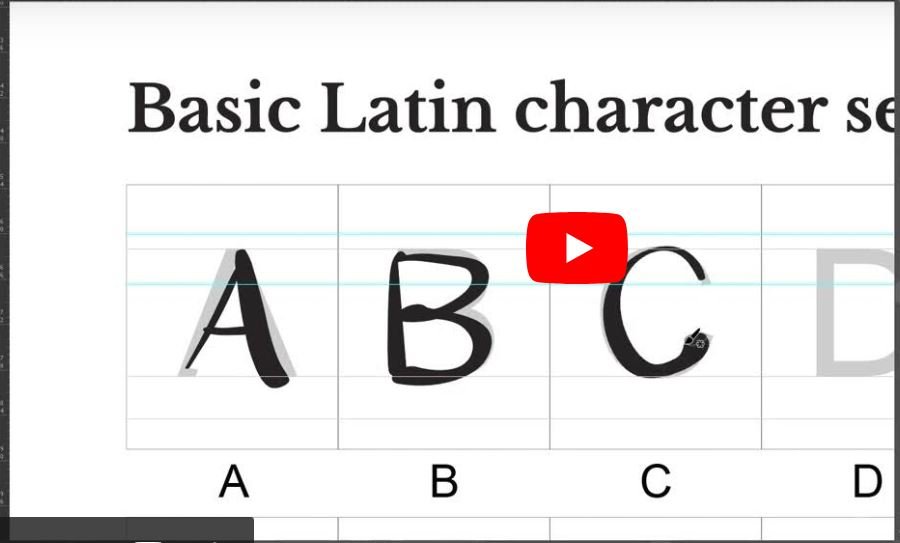
Step 1: Design Your Characters
The first step in creating a font is to design each character. You can do this directly in Adobe Illustrator or Photoshop.
- Draw Your Characters: Use Illustrator’s Pen Tool or Photoshop’s brush options to create each letter, number, and symbol.
- Consider Style and Consistency: Decide if you want a serif, sans-serif, script, or decorative style. Ensure each character has a consistent weight and style for a cohesive look.
- Add Guidelines: Use guides to keep your characters aligned. Make sure the baseline, cap height, and x-height are consistent for each letter.
Step 2: Import Characters into FontSelf
Once your characters are designed, it’s time to start building the font in FontSelf.
- Open FontSelf: Launch the FontSelf plugin in Illustrator or Photoshop by going to
Window>Extensions>FontSelf Maker. - Select and Drag Characters: Select all the letters, numbers, and symbols you designed. Drag them into the FontSelf panel. The plugin will recognize each character and assign it to its corresponding keyboard key automatically.
- Name Your Font: Give your font a name in the FontSelf panel. This name will be what you see when selecting it in other programs.
Step 3: Adjust Character Spacing and Kerning
Once your characters are imported, you’ll want to fine-tune spacing and kerning.
- Adjust Spacing: Set the spacing between characters (left and right side bearings) so they don’t crowd or drift too far apart when typed.
- Add Kerning: Kerning adjusts the space between specific letter pairs (like “AV” or “To”) for a more natural look. FontSelf has a simple kerning tool to make this process easy.
- Preview Your Font: Test out different letter combinations in the preview area to ensure your characters look cohesive together.
Step 4: Export Your Font
When you’re happy with the spacing, kerning, and character designs, it’s time to export your font.
- Click Export: In the FontSelf panel, select “Export” to save your font as an
.otf(OpenType Font) file. - Choose a Location: Save the font file in a location where you can easily access it later.
- Install the Font: To install the font on your computer, double-click the
.otffile and select “Install.” Now, it’s ready for use in any software on your computer!
Step 5: Test and Refine Your Font
After installing, test your new font in different applications to see how it performs. Write out sample text and try various font sizes. If you notice inconsistencies, you can reopen FontSelf, make adjustments, and re-export.
Tips for Creating Beautiful Fonts
- Keep It Simple: Start with a basic style before diving into complex shapes or effects.
- Create Both Uppercase and Lowercase: If possible, design both upper and lowercase letters for more versatility.
- Use Reference Fonts: Looking at other fonts can help you decide on details like weight, style, and spacing.
Final Thoughts
Creating a custom font with FontSelf is a fantastic way to bring your unique style to life. Once you master the basics, you can start exploring more complex designs, such as adding decorative elements, alternative characters, and ligatures. With a bit of practice, you’ll be crafting fonts that add a personal touch to every project.
Ready to get started? Grab FontSelf, follow along with our video tutorial, and start making fonts that express your unique vision. Happy font-making!